Flower Arranging at The Making Table, Materials
Flower Arranging for Seniors
A flower arranging class for seniors at The Making Table teaches you to arrange flowers by standing a small, hand-gathered bouquet in a bowl: you pick up about 12 stems, cut them on the bias, and build a dome that reaches roughly 40 centimetres, or 16 inches, tall over a 20 centimetre, or 8 inch, bowl.
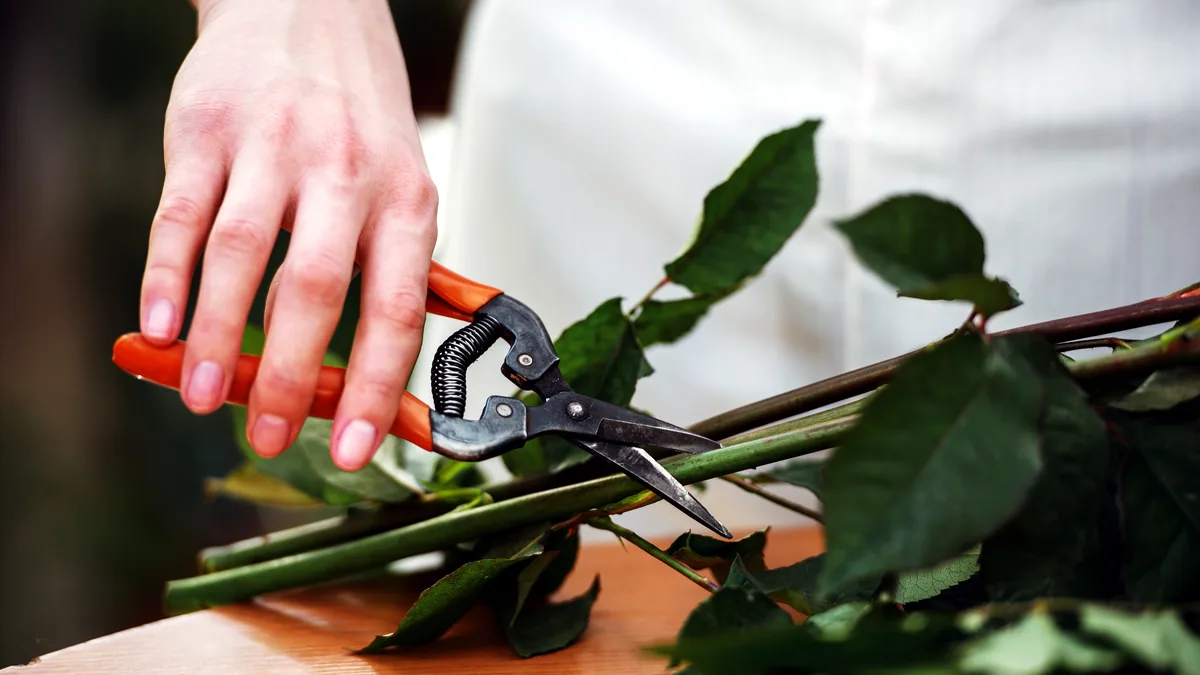
It is a hands-on activity for an elderly maker, and it takes 45 minutes from a full table to a finished, watered bowl that lasts 5 to 7 days on a kitchen counter.
You do not need a florist's shop, a license, or any past training to begin, and you never have to order flowers in advance. A supermarket bouquet, a market bunch, or a handful of stems cut from your own garden all start the same way. If you would rather sit across a table from someone while you learn, a Flower Arranging Class for Seniors gives you exactly this, with a facilitator and a shared bowl, at a pace that suits the room. The same method scales from a 10 centimetre bud vase to a 30 centimetre bowl, so the skill you build today still fits the larger arrangements you will want for the year ahead, including Christmas Flower Arrangements.
What flower arranging is at the Making Table
At the Making Table, flower arranging is the hands-on practice of conditioning a bunch of cut flowers, then placing them by hand into a vessel so the bouquet stands up on its own, opens outward, and holds its shape for a week or more. It is one of the more popular hands-on activities for later life, because it works with whatever your hands are doing today. It asks no prior skill and no reading of a diagram: you learn by holding a stem, cutting it, and seeing whether it stands. The whole method rests on four named stages, and those four stages are condition, choose, place, and water. Master them once and you can repeat the work in any room, with any flowers, in any bowl.
- Condition the stems so they drink well and last their full life.
- Choose a bowl and a handful of blooms that fit the table.
- Place the flowers in order, from focal stems to filler.
- Water and set the bowl so it is finished, not started.
The stages interlock, and each one feeds the next. Conditioning sets how long the flowers will live, which shapes how many you can afford to use. Choosing a bowl sets the width of the dome, which shapes the placing order. Placing decides where the weight falls, which shapes how the bowl stands and how often it must be lifted to top up. Water closes the loop, because the freshness you gained in stage one is only as good as the water you keep in the bowl after you finish.
The materials you need
Everything for a first bowl fits on a kitchen counter, and most of it is already in the house. The list below is the full set, with a quantity for each item so you can check it off before you begin.
| Item | Quantity | Why it matters |
|---|---|---|
| Cut flowers | 12 to 15 stems | Enough to fill a bowl without crowding it |
| Greenery | 6 to 8 stems | Supports the blooms and hides the wiring |
| Bowl or vase | 1, roughly 20 cm wide | Its mouth sets the width of your dome |
| Sharp scissors or secateurs | 1 pair | Clean diagonal cuts open the stem for water |
| Water | 1 litre, warm if fresh | Warm water moves through a fresh stem faster |
| Floral food or sugar | 1 teaspoon | Feeds the blooms and slows the bacteria |
| Pitcher or jug | 1 | Deep enough to submerge every stem for conditioning |
You do not need floral foam, wire, or a mechanic's tape for a bowl arrangement, and adding them before your first try only complicates the placing. Keep them for the larger, wired work that comes later. The one item that must not be dull is the blade, because a crushed stem will not drink as well as a clean one, and the whole rest of the method depends on the stem drinking.
Choosing the flowers
Choose by role, not by name, and three roles cover nearly every arrangement. Focal flowers are the large, showy heads that carry the colour, such as roses, dahlias, and lilies. Line flowers are the tall stems that set the height and the shape, such as snapdragons, delphiniums, and eucalyptus. Filler flowers are the small blooms that fill the gaps and soften the edges, such as spray roses, chamomile, and baby's breath. A workable first handful is 5 focal stems, 4 line stems, and 6 to 8 filler or green stems, which lands you at the 12 to 15 from the table. Buy or gather a little more than you need, because a few stems will be weak and you want room to set them aside.
How to condition flowers before arranging
To condition flowers before arranging, you give the stems a drink before they ever meet the bowl, and a fresh supermarket bunch benefits from 2 to 4 hours of it. Condition in four steps, in this order, and each step prepares the next.
- Remove any leaves that will sit below the water line.
- Cut 2 to 3 centimetres off the base of each stem at a 45 degree angle.
- Stand the stems in a pitcher of clean water deep enough to cover 10 centimetres of stem.
- Leave the pitcher in a cool place for 2 to 4 hours, then arrange.
The diagonal cut is the step that matters most, because it opens more of the stem's drinking channel than a flat cut does, and a larger opening takes water faster. A supermarket bunch is often packed tightly and its stems are bruised where they were bound, so the recut removes that damaged band. If your flowers come from your own garden, cut them in the cool of the morning and condition them as soon as you can, because a garden stem loses water fast once it is cut. Conditioning is the quiet half of the work, but it is what turns a day of colour into a week.
How to arrange flowers in a bowl
To arrange flowers in a bowl, you build the arrangement from the outside in, starting with the support and ending with the show. A bowl is the friendliest vessel for a first attempt, because its wide mouth lets you see the whole dome as you build it, and its low, broad base keeps the finished weight stable on a table. Follow the placing order below, and each step assumes the last one is already standing.
- Start with the greenery, pushing the 6 to 8 stems down to the base of the bowl so they cross and grip one another.
- Stand the 4 line flowers in a loose circle, spacing them evenly and keeping the tallest stem at the back.
- Place the 5 focal blooms in the centre, one slightly higher than the rest to give the dome its peak.
- Work the filler flowers into the gaps until no bare wire and no bare stem shows.
- Step back, turn the bowl a quarter way around, and adjust any stem that looks short from a side view.
Two rules keep a bowl from tipping over. The first is to keep the total height of the arrangement within twice the bowl's width, so a 20 centimetre bowl should carry a dome no taller than about 40 centimetres. The second is to keep the tallest stem in the middle of the back, because a tall stem at the edge turns the bowl into a seesaw. If the dome still feels top-heavy, add a stem of greenery at the base on the heavy side, because weight low and near the centre is what makes a bowl stand on its own.
Watering and how long the arrangement lasts
Watering is what holds the freshness you built during conditioning, and a well-kept bowl lasts 5 to 7 days on a counter. Top up the water every 2 days, recut 1 centimetre from the base each time you do, and keep the bowl out of direct sun and away from fruit. The recut is the step people skip, but a stem's base dries and seals over a couple of days, and a fresh cut re-opens the channel so the flower drinks again. A little floral food, or a teaspoon of sugar and a drop of bleach, slows the bacteria that block that same channel. If the petals begin to droop before day 3, move the bowl to a cooler room and top up with cold water the same evening, because a cool, well-fed bowl recovers faster than one that is warm and dry.
Do you have to order flowers in advance
No, you do not have to order flowers in advance for a bowl. The only reason to order ahead is a special occasion, such as a birthday, a funeral, or a Christmas table, when you want a specific colour or a specific bloom that a shop may not keep on the shelf. For everyday arranging, the market and the supermarket both turn over their stock daily, so the freshest stems are usually the ones on the stand this morning. If you do order for an occasion, order 3 to 5 days ahead, because the florist needs that time to source the right stems and to pack them so they arrive conditioned. For a one-off treat, a single supermarket bunch bought that morning costs less, travels less, and is often fresher than anything you could have had delivered.
Learn how to arrange flowers: your first 3 sessions
To learn how to arrange flowers at The Making Table, you repeat the same four stages in three short sessions, and each session adds one skill to the last. A beginner who follows this path can build a confident bowl by the third sitting, working alone at their own table.
- Session 1, about 45 minutes: condition a bunch and stand a simple dome of greenery and 5 focal blooms, learning the placing order by hand.
- Session 2, about 60 minutes: add the line flowers and the filler, and learn the height rule and the centre-of-weight rule for a stable bowl.
- Session 3, about 60 minutes: repeat the whole build from memory, then vary the colours and the blooms to make the arrangement your own.
After those 3 sessions the method is yours, and you can repeat it with whatever is in front of you. The Making Table keeps a standing schedule for anyone who wants to keep going, and its larger seasonal projects, from a winter centrepiece to a full Christmas Flower Arrangements display, all use the same four stages you have already learned, only at a bigger scale and with more stems. Pick up the bowl, set the greenery, and the rest follows.