How to Start a Flower Arranging Class for Seniors at Home
A Flower Arranging Class for Seniors
A flower arranging class for seniors is a small group activity in which 4 to 8 people build one fresh-stem arrangement in a single 75-minute session, and it works as a hands-on task with a visible finished result.
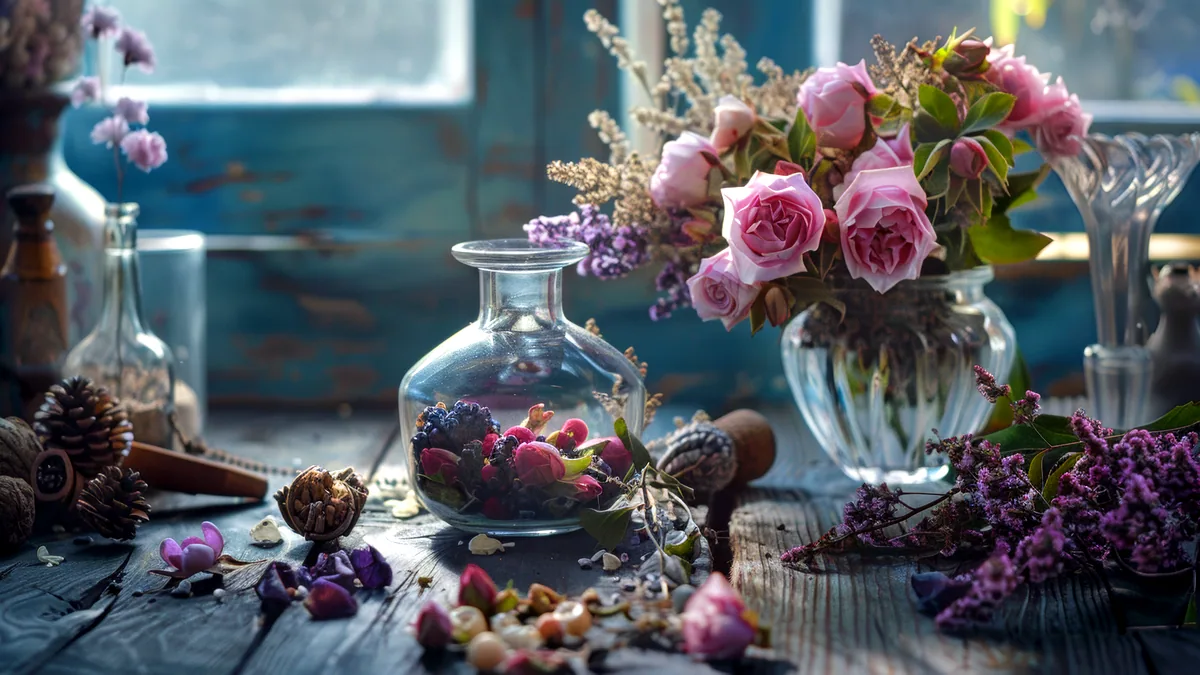
Run it at a kitchen table, in a garden room or in a day centre, and the whole kit fits on one surface with 8 place mats and a shared bucket of stems. This page gives you the materials list, the room layout and the minute-by-minute session plan, so a caregiver or a volunteer can host the first session this month.
The format suits a senior because it is a seated activity with fine-motor steps, a social table and a takeaway result, which is what a Flower Arranging for Seniors session is built to deliver. It also works as a recurring monthly group activity, and it can be repeated across the year with seasonal themes. If you are already running a group, a Christmas Flower Arrangements project is the natural winter edition, and a Flower Arrangements for a Funeral gives the same skills a respectful use when a family asks. And if your members want a second craft to add to the rota, a Find a Candle Making Class keeps the table busy on a non-flower week.
What a session provides
A 75-minute arrangement class is a low-risk social activity for seniors, and it sits comfortably among the group activities a care home or day centre already runs, such as music, board games and craft mornings. It asks for steady hands rather than speed, so the pace suits people with arthritis or reduced grip, and the finished bowl becomes a keepsake. The structure below keeps the group together for the whole 75 minutes, with 3 timed breaks.
| Session block | Minutes | What happens |
|---|---|---|
| Setup and welcome | 10 | Hands washed, table cleared, stems named and passed around |
| Demo and first build | 30 | Leader builds a sample, then each member starts their own |
| Middle break | 5 | Tea, a stretch, a walk to the window |
| Second build | 20 | Add foliage and focal stems, trim to height |
| Final trim and pack | 10 | Adjust, wrap the stems, arrange the carry home |
What each person takes away
Each seat leaves with a finished arrangement, and the room keeps a shared photo of the 8 results. A group of 8 therefore produces 8 takeaways and 1 shared record, which gives the whole session a fair amount of output for a single morning.
The materials and their cost
The materials for a senior flower arranging class cost about 6 pounds per person for the stems and about 3 pounds per person for the tools, so a full kit for 8 people runs near 75 pounds and can be reused across 5 sessions. Buying the tools once and restocking the flowers each time keeps the per-head cost under 10 pounds for a monthly class.
Tools to buy once
- 2 flower shears, one per side of the table
- 1 bucket of water with a drip tray
- 8 buckets, one per person, or 8 jam jars as a cheaper stand-in
- 1 roll of floral tape
- 8 place mats and 8 paper towels per session
Flowers to restock each time
- 24 roses, in 3 colours for a group of 8
- 16 eucalyptus stems as the green base
- 12 ranunculus or lisianthus as the focal stems
- 8 small bowls for the finished work
The cost by role
| Item | Bought once | Restocked per session |
|---|---|---|
| Shears, tape, bucket | Yes, about 15 pounds total | No |
| Per-person bucket or jar | Yes, 8 in total | No |
| Roses, ranunculus, eucalyptus | No | Yes, about 48 pounds for 8 people |
| Bowls and place mats | Yes | Place mats restocked at 1 pound per roll |
The room layout
The room layout for a flower arranging class is a single 2 metre table set so that 8 people fit around it, with the water bucket in the centre and the shears and tape within reach of both ends. A 1.5 metre table holds 6 people, so a larger group needs 2 tables pushed together. Keep a clear walkway of 90 centimetres on each side for a wheelchair or a walker, and put the bucket of water where a spill will not reach the floor covering.
The step-by-step session plan
The step-by-step plan for a flower arranging session is 8 steps, and the leader runs them in order from the 10 minute setup through the 10 minute pack. Each step below starts with the action the group takes, and the timing matches the block table above.
- Wash and dry hands, and lay the 8 place mats down.
- Name each type of stem and pass the 12 focal stems around the table.
- Build a sample on the shared bucket, cutting the first 3 stems at an angle.
- Each person fills their own bucket and trims their first 3 stems.
- Take the 5 minute break for tea and a stretch.
- Build the base by crossing 4 eucalyptus stems in an X, then add the foliage.
- Place the 3 focal stems in a triangle, pointing at the 12, 4 and 8 on a clock face.
- Fill the gaps with roses, trim to a 25 centimetre height, then wrap and pack.
The triangle step is the one that makes the arrangement look finished rather than random, and it is the easiest thing to teach because it maps onto a clock the group can all see. A member who finds the stems hard to hold can bend a strip of floral tape around the base to make a thicker grip, which takes 30 seconds.
Keeping it free and finding a group
Keeping a flower arranging class free is realistic, because a local council or community centre often funds group activities for citizens, and a care home can fold the session into its existing activity budget. Ask a centre or a library about a funded slot, and ask a florist for stems at close of trade, when a day of 100 stems becomes a 10 pound bundle. A senior citizen group, a church hall or a community centre near home is usually the host, and a day centre near home is the same idea on a weekday morning. If a free slot is not available, a 5 pound entry fee from each of 8 people covers the stems for 8 and leaves 40 pounds to buy the tools once.
Host the first session with 4 to 8 people at one table for a single 75-minute build, keep the per-head cost under 10 pounds, and the group can repeat it monthly from the same 8 step plan.